Accurate measurements give you a reliable starting point for estimating how much wood flooring your project will need. The calculation begins with the floor area, followed by an installation allowance for cuts, pattern placement and natural board selection.
This guide explains how to measure rectangular, L-shaped and irregular rooms, calculate the area in square metres and convert that figure into the number of packs required.
Your installer should confirm the final quantity before an order is placed. Board dimensions, fitting direction, pattern and room shape can all affect the amount of flooring needed.

What you will need
Gather a few simple tools before you begin:
- A tape measure or laser measure
- A pencil
- Paper or a notebook
- A ruler
- A calculator or smartphone
A simple sketch of the room will help you record each measurement in the correct place. Include doorways, alcoves, bay windows, chimney breasts, fitted cabinetry and any adjoining areas that will receive the same floor.
The drawing only needs to show the shape and dimensions clearly.
Measure in metres
Record every dimension in metres so that the final area is calculated in square metres, written as m².
If your tape measure shows centimetres, divide the measurement by 100 to convert it into metres. A wall measuring 425cm is therefore 4.25m long.
Keep two decimal places throughout your calculation. Rounding individual measurements too early can make the final estimate less accurate.
How to measure a rectangular room
For a rectangular or square room, measure its length and width at floor level. Multiply the two measurements together:
Length × width = floor area
For example, a room measuring 5.2m long and 3.8m wide has an area of:
5.2m × 3.8m = 19.76m²
Rooms are not always perfectly square. Measure the length and width in more than one position, particularly in older properties. Use the largest relevant dimensions for your initial calculation and show the differences on your plan for the installer.
How to measure an L-shaped room
Divide an L-shaped room into two rectangles. Measure the length and width of each section, calculate their individual areas and add them together.
For example:
Section one: 4.2m × 3.5m = 14.70m²
Section two: 2.1m × 1.6m = 3.36m²
Total floor area: 14.70m² + 3.36m² = 18.06m²
Mark the dividing line on your sketch so each dimension remains easy to follow.
How to measure an irregular room
Break a more complex room into a series of simple rectangles or squares. Calculate each area separately and add the figures together.
Measure alcoves, bay windows and recessed areas as their own sections. Chimney breasts and other projections can be shown clearly on the plan so your installer can account for the cuts required around them.
Angled walls may create triangular sections. Measure the base and the perpendicular height, then use this calculation:
Base × height ÷ 2 = triangular area
Curved walls and highly irregular spaces are harder to estimate accurately. Measure the widest and longest points, record several intermediate dimensions and ask your installer to complete a site measure before ordering.

Measuring connected rooms
Measure every room, hallway and connecting area separately. Add the individual areas together once each calculation has been checked.
Record door openings and the position of thresholds. If one floor will run continuously through several spaces, the installer will need to consider board direction, pattern alignment, expansion details and transitions as part of the layout.
For open-plan interiors, divide the space into manageable rectangles based on walls, kitchen islands or changes in room width. Keep every section on the same overall sketch.
Should you measure beneath fitted furniture?
Measure the areas that will receive flooring according to the installation plan. This may include spaces beneath removable appliances, freestanding furniture and some fitted elements.
Kitchen units, islands, wardrobes and other permanent fittings require early discussion with the installer. The sequence of fitting and the selected installation method can determine whether the wood floor extends beneath them.
Record the full room dimensions first. Mark the footprint of permanent fittings separately and confirm which areas should be included before calculating the order quantity.
Allow for cuts and board selection
The measured floor area is the net area of the room. An additional installation allowance is required for perimeter cuts, unusable offcuts and the selection of boards for a balanced layout.
The appropriate allowance depends on several factors:
- Room shape and number of corners
- Plank, herringbone, chevron or geometric design
- Board dimensions
- Fitting direction
- Borders and feature areas
- Pattern alignment between rooms
- The amount of natural variation within the timber
A straightforward plank installation in a regular room will generally involve fewer cuts than an intricate pattern across an irregular space. Your installer should confirm the percentage required for the selected floor and layout.
Once the allowance has been agreed, calculate the order area using this formula:
Room area × allowance percentage = additional flooring
Room area + additional flooring = order area
Using the earlier rectangular room as an illustration, a 19.76m² area with an installer-approved allowance of 10% would be calculated as follows:
19.76m² × 10% = 1.976m²
19.76m² + 1.976m² = 21.736m²
The order area can then be rounded to 21.74m² before calculating the required number of packs.
Convert the area into packs
Wood flooring is supplied in packs, with each pack covering a stated number of square metres. Check the pack coverage on the relevant product information.
Divide the total order area, including the agreed allowance, by the coverage of one pack:
Order area ÷ pack coverage = number of packs
Always round the answer up to the next complete pack.
For example, if the order area is 21.74m² and each pack covers 1.98m²:
21.74m² ÷ 1.98m² = 10.98 packs
This project would therefore require 11 complete packs, subject to confirmation by the installer.
Check your measurements
Repeat every measurement and compare the figures with your sketch. Check that:
- Every area receiving flooring has been included
- All dimensions use the same unit of measurement
- Alcoves, doorways and connecting spaces are shown
- Permanent fittings are clearly marked
- Each section has been calculated correctly
- The areas have been added together accurately
- The installation allowance has been confirmed
- The pack calculation has been rounded up
Plans can change during a renovation. Complete a final check once walls, fitted furniture and openings are in their finished positions.
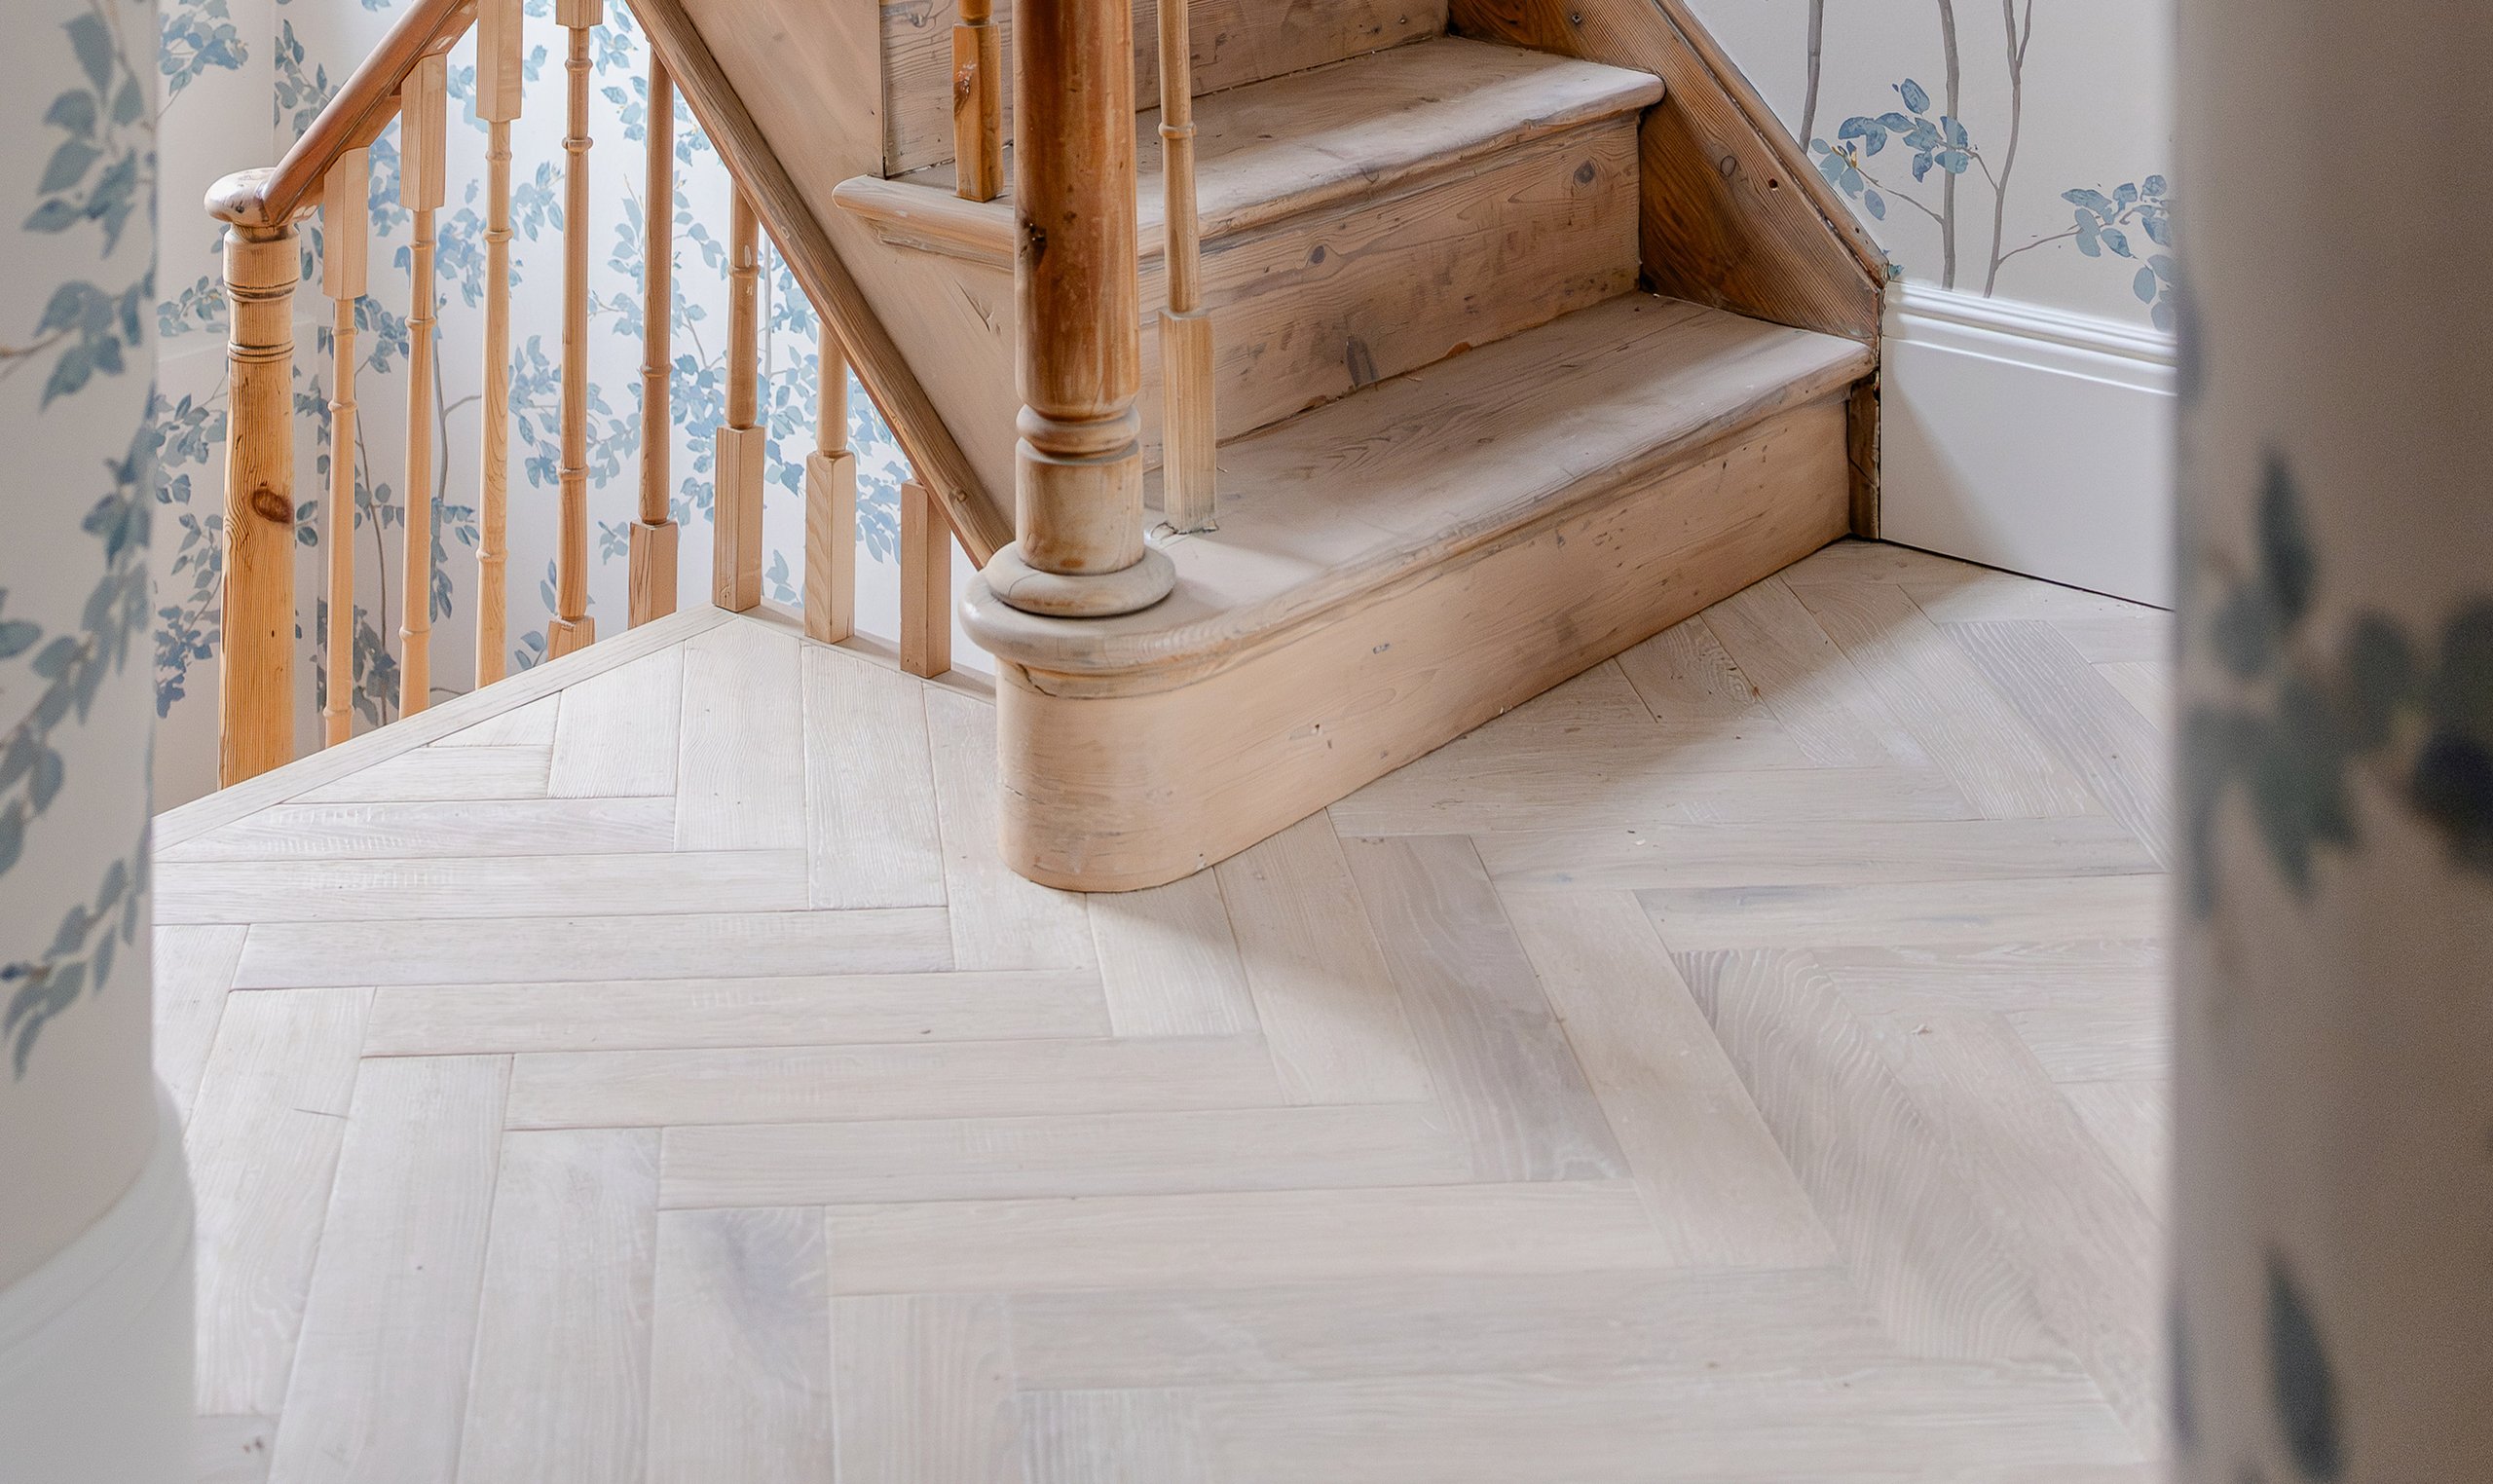
Keep spare boards for future repairs
Any suitable boards remaining after installation can be stored flat in a dry, stable environment. They may prove useful if a section of the floor ever needs attention.
Keeping boards from the original order also gives you timber from the same production batch and with a closely related colour and character.
Confirm the quantity before ordering
Your measurements provide a useful estimate for planning and budgeting. A professional flooring installer should complete or verify the final site measure, installation allowance and pack quantity.
They can also assess the subfloor, floor build-up, fitting direction, perimeter details and any transitions between rooms.
Once your measurements are ready, explore Ted Todd wood flooring and refer to our documents library for full installation guidance. You can also contact our team for help with your project.